Curse of the IBM Death Star

A couple of weeks ago, my sisters' eMac suddenly gave up the ghost. A quick look at it and I figured that the hard disk had crashed. It kept making a strange clicking sound.
And so, I took the eMac apart (with the help of some very comprehensive service manuals) and replaced the hard disk.
The eMac came with an 80GB Hitachi-branded IBM Deskstar 180GXP.
I wondered why the name sounded so familiar. I couldn't put my finger on it at first, but then... it hit me.
IT'S A @#$%ING DEATH STAR!!!
In case you've never heard, the Deskstar (also known as the Death Star) was IBM's notoriously unreliable range of hard drives sold around 2003. It did insurmountable damage to IBM's reputation as a mass storage device manufacturer.
The controversy behind the Deathstar wasn't merely because it was unbelieveably unreliable (an estimated 6% failure rate among users within the short term and a maximum lifespan of about 3 years or so), but because IBM knew that it had a design defect but denied that the Deskstar series had any issues.
Basically, if you've bought a computer in the year 2003 or 2004 from a branded computer company (i.e. Apple, Dell, HP, Compaq, IBM, etc...) I highly recommend checking what sort of hard drive you've got.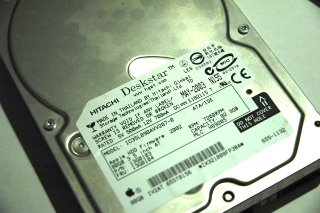 CAUTION: If your hard drive looks anything like this, I highly recommend backing up all your data now and upgrading your PC/Mac to any other hard drive in the market. Trust me, you can't possibly get anything worse than this.
The clicking sound I heard from the eMac was the Deathstar's infamous "Click of Death" - a common indicator that your drive is about to go the way of the Dodo.
Anyway, here's how I replaced the hard drive on the eMac. Contrary to popular belief, it is possible to repair and change components in an all-in-one Mac on your own (i.e. the eMac and iMac range). All you need are the service manuals and some basic tools (screwdrivers, Allen keys, etc...) and some prior experience in taking apart electronic devices.
While it looks daunting at first, the eMac's innards are extremely well designed. The parts make maximum use of available space and are relatively easy to disassemble (no scary, PCB-bending antics required here).
Of course, this is coming from someone who's spent the better part of his life taking apart videogames consoles, radio controlled cars and PCs. If you've never taken apart a toaster before, ask someone who has (if you want something changed in your eMac).
With that out of the way, it's time to play doctor.
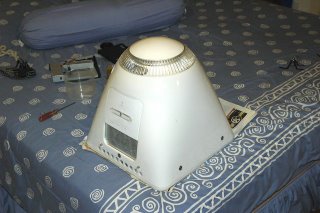 STEP 1: Place eMac on table/bench/bed/sofa facing downwards.
 Step 2: Remove the big shiny screws with an Allen key (always useful to have these things lying around the house).
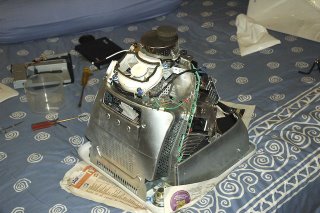 STEP 3: Pull off the white casing, making sure you unfasten the power button connector - otherwise, you'll rip it right off. This is what a naked eMac looks like.
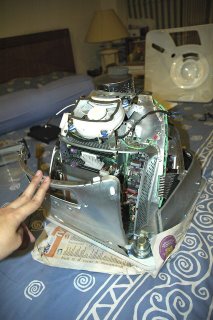 STEP 4: Remove the Faraday plate - this will expose the optical drive, and the entire digital assembly.
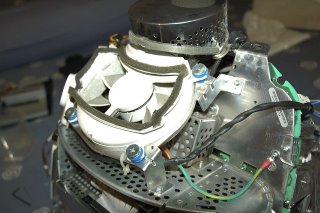
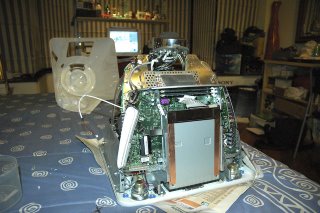
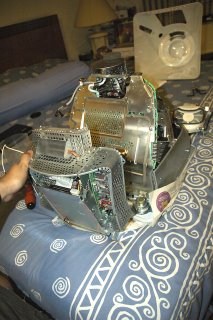
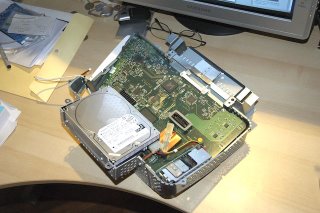 STEP 7: Unscrew the hard drive cradle and unfasten the cables. Now, you should have a bird's eye view of the graphics chip, CPU heat sink and other cool-looking bits and pieces.
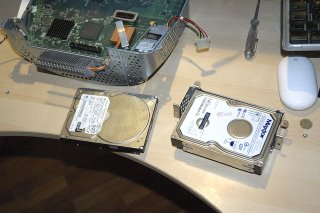 STEP 7: Replace piece of shit with a nice, healthy Maxtor hard drive.
Once you're done, just backtrack until you've got a working eMac again that's not in bits and pieces. If you've already put the eMac back together but found something like this lying around your room:
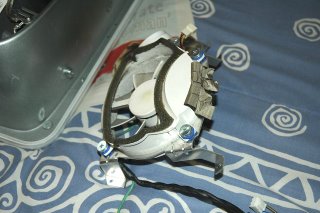
Then, I suggest you read the service manuals - you probably forgot to put something back in.


